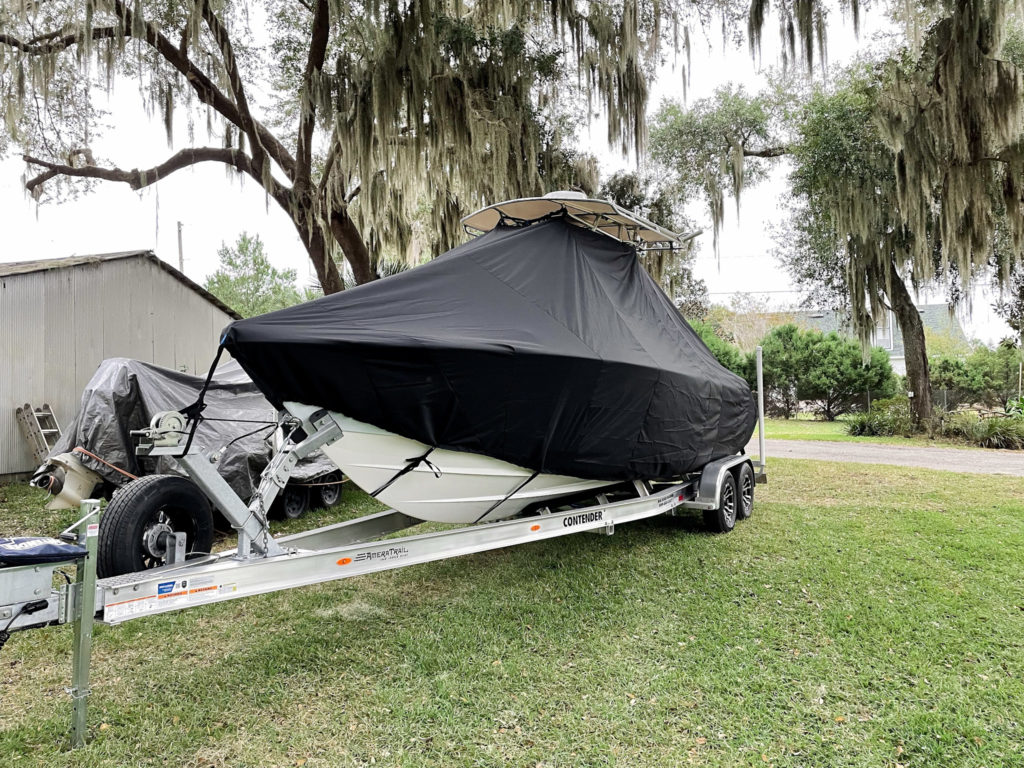
Let’s get you covered!
Congratulations! You are now the proud owner of a LaPorte Product T-Top Boat Cover! We’ve helped you answer all the questions leading up to your purchase but now, you’re probably asking “how do I install it?” Relax, we’ve got you covered.
To begin installation of your cover, stand inside your boat.
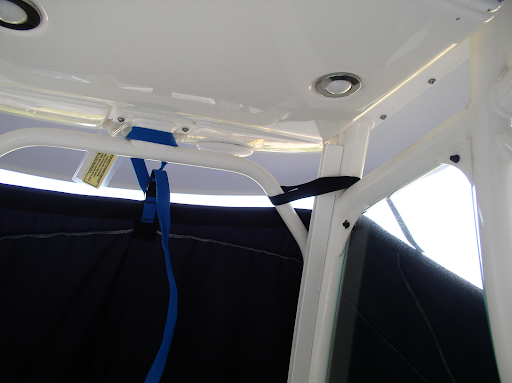
- Locate the royal blue strap located on your T-Top Boat Cover. Attach the strap to the front center bar beneath your t-top.
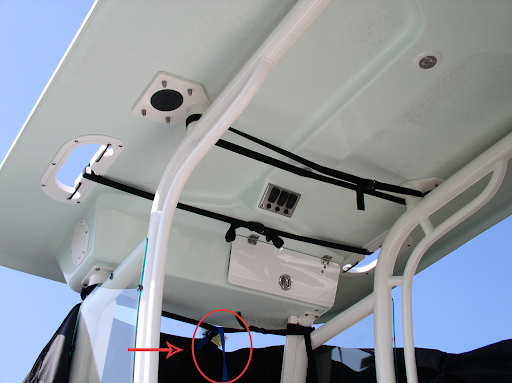
If you do not have a center bar to attach the royal blue strap to, an additional strap connector is needed.
2) Next, find the two black webbing straps on either side of the royal blue strap, and attach them to the right and left of the center bar. The fabric between the straps should be taught.
3) Next, place the front section of the cover over the bow. Once your cover has been installed properly the first time, you may slide the cover over the bow before attaching the blue strap.

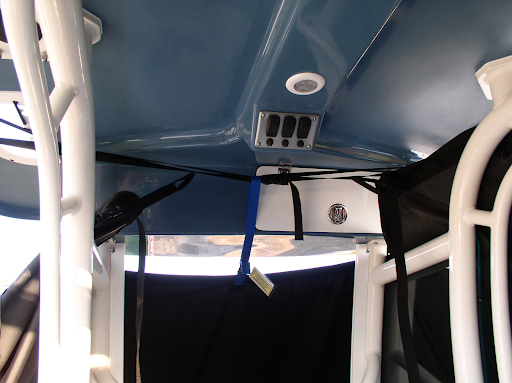
4) Place the portion of the cover that contains the draw rope over either the starboard or port side rub rail, depending on which side your zipper is installed on. Find the webbing strap that is located next to the forward half of the zipper, at the top of the cover, and connect it to horizontal bar found under the t-top. This strap should be positioned between the console and the helm seat. The material between the webbing straps should be kept taught.
NOTE: These straps are adjustable and can be tightened or loosened as necessary.
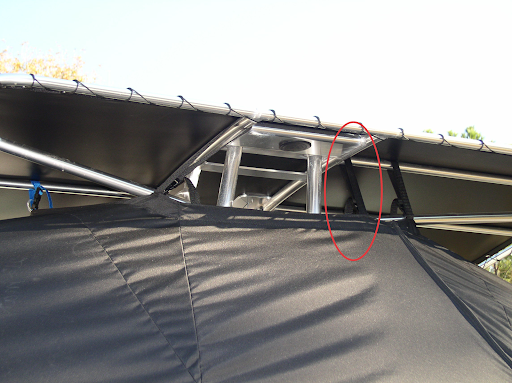
5) Take the large section of the cover, the opposite side of where the zipper is installed, and pull it around the stern of the boat covering the motor or motors. The motor(s) should be in a down position for the cover to fit properly. Find the stern half of the zipper and join it to the forward half. The zipper will start at the top near the t-top and zip downwards. Only zip down one-third of the way.
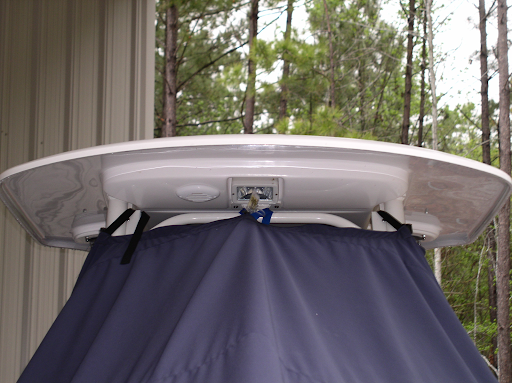
6) Find the webbing strap closest to the stern zipper, and attach this strap to the same horizontal bar between the console and helm seat that the front section is attached to. Continuing to the left, counterclockwise, find the next webbing strap and attach this to the center horizontal bar under the t-top. Keep working to the left and connect all the webbing straps to the bars under the t-top.
7) Once all straps are connected under the t-top, step out of the boat and complete zipping the remaining portion of the zipper. At the bottom of the zipper is a draw rope which has loops on both ends. Slide one end of the rope through a loop and draw the rope tight. Make a clove hitch knot at the end of the rope.
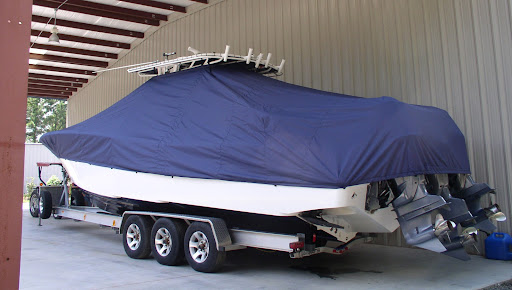
8) Check to confirm that the cover is securely fastened over the bow, rub rails, stern corners and motors(s). If the cover fits loosely, re-enter the boat to adjust the straps connected under the t-top. Once inch loops are installed around the bottom of the cover for tie downs. Tie downs are not included but can be purchased separately.
Help!
Our covers are made to fit your boat like a glove and are made to protect your investment. After installing your cover, you may notice that some things are not fitting like they should. Below are some common fitment issues and ways to fix them!
- Water pooling in your cover? This is usually due to in-proper installation. you’ll want to reach out to our support team for help with this.
- Does your cover seem loose or not secured? You have a couple of options here. Make sure you’ve properly sinched your hem rope. If you’re on a lift, make sure to utilize our sandbags, and if you’re on a trailer, use one of our tie down sets.
- Tip: Beware of over-tightening your cover. This can flatten the front of your cover and can eliminate your runoff angle for water.
Let’s get that fixed!
In the unlikely event the options above didn’t work, please follow the below steps to receive the help you need!
- Email support@laporteproducts.com
- Our support team will send you a photo request form with instructions on what kind of photos they will need.
- They are also going to ask for the SKU that is printed on the inside of your cover in chalk. Be sure to have that ready for them!
- Tip: photos that are zoomed out, rather than zoomed in are going to be more helpful for our support team to look at. Having a wider shot of your cover is going to allow them to get to the bottom of your in-proper fit more quickly.


Just make a video!!
Hi Allen! You can find our installation video at the following link: https://youtu.be/y4q4StNAVRQ?si=ysSWMwd0vrZQyFL4